8 Simple Headboard DIY Projects
This post may contain affiliate links which means I may receive a commission for purchases made through links at no extra cost to you. I only recommend products I truly believe in. Thank you for your support!
Welcome to our ultimate guide to creating stunning, budget-friendly DIY headboards! Whether you’re a seasoned DIY enthusiast or just starting out, we’ve got you covered with these easy and inspiring ideas to elevate your bedroom decor.
Imagine giving your bed a fresh new look without breaking the bank. From reupholstering to panel designs and wood constructions, these projects are designed to be fun, sustainable, and perfect for every skill level. Our guide compiles a variety of creative options, ensuring there’s something for everyone to enjoy.
Ready to get creative? These DIY headboard ideas are not only cost-effective but also allow you to personalize your space with your favorite fabrics, colors, and styles. Whether you’re aiming for a modern, rustic, or bohemian vibe, we invite you to dive in and transform your bedroom into a cozy retreat that reflects your unique taste.
So, let’s get started and explore these incredible DIY headboard projects that will make your bed the focal point of your home. Your journey to a beautiful, comfortable living space begins here!
Transform Your Bedroom with DIY Headboard Innovations

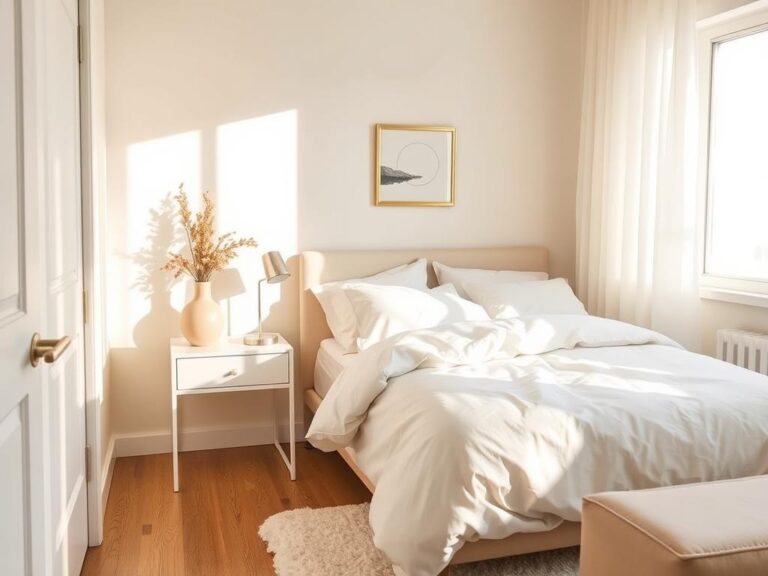
Imagine stepping into a bedroom that feels like a retreat, where every detail reflects your personal style. A fresh DIY headboard can be the key to transforming your space into a cozy oasis. Whether you’re aiming for a modern look or a vintage vibe, a well-crafted headboard can redefine the ambiance of your room.
Think of your walls as a blank canvas waiting for your creative touch. You can use plywood, fabric, or even repurposed materials like an old door to create a unique design. The best part? These projects are accessible to everyone, regardless of budget or skill level. From minimalist designs to elaborate panel setups, there’s a DIY headboard idea for every taste.
Inspired by designs from The Spruce and top interior designers, you can craft a headboard that combines aesthetics with functionality. For instance, adding molding or using fabric can elevate the look of your bed. Plus, materials like plywood and architectural salvage offer endless possibilities for creativity. The result? A bedroom that feels personalized and inviting.
Material & Tools Essentials for a Successful DIY Headboard

Ready to start your DIY headboard journey? Let’s dive into the essential materials and tools you’ll need to create a stunning and durable piece!
Basic Material Checklist
- 1×6 Boards for the frame
- Plywood for the main panel
- Fabric for upholstery
- Foam for cushioning
These materials are chosen for their balance of durability and style, ensuring your headboard is both functional and visually appealing.
Essential Tools and Equipment
- Miter Saw for precise cuts
- Orbital Sander for smooth finishes
- Kreg Jig for secure joints
- Staple Gun for upholstery
With these tools, you’ll achieve professional-looking results and ensure a quality finish for your DIY headboard.
| Material | Durability | Style | Budget |
|---|---|---|---|
| 1×6 Boards | High | Classic | Moderate |
| Plywood | Very High | Modern | Affordable |
| Fabric | Varies | Customizable | Budget-Friendly |
This table helps you make informed decisions based on your priorities—whether it’s durability, style, or budget!
Reupholster Your Existing Headboard for an Instant Update

Ready to breathe new life into your bedroom without breaking the bank? Reupholstering your existing headboard is a fantastic way to give it a fresh, modern look without starting from scratch. This project is perfect for anyone looking to save money and reduce waste while still achieving a stylish update.
Staple Gun Techniques and Fabric Selection
Let’s dive into the simple process! First, remove the old fabric and inspect the headboard surface. Make sure it’s clean and smooth for the best results. Next, cut your new fabric, leaving enough extra to wrap around the edges neatly. A staple gun is your best friend here—use it to secure the fabric tightly, starting from the center and working your way out to avoid wrinkles.
Choosing the right fabric is key. Opt for something durable yet stylish, like a patterned duvet cover from IKEA. Not only is it budget-friendly, but it also adds a unique touch to your room. Remember, this project is all about creating a “new” look while being eco-conscious.
Create Your Own Panel Headboard Design

Ready to add a touch of elegance to your bedroom? A panel headboard is a fantastic way to create a statement piece that reflects your personal style. Whether you’re aiming for a modern look or a vintage vibe, this project offers endless possibilities for customization.
Plywood Panel Options
Start by selecting the perfect plywood for your panels. Pre-cut plywood is a great choice as it saves time and ensures uniformity. For a sleek look, consider a 6-panel design, which can be easily secured to a sturdy frame. Remember, the plywood is the star of your headboard, so choose a high-quality option that aligns with your desired aesthetic.
Upholstery and Tufting Methods
Once your panels are ready, it’s time to add some cushioning and style. Cut foam to fit each panel and cover it with your favorite fabric. For a polished finish, use a staple gun to secure the fabric tightly. Tufting adds a luxurious touch—simply use button kits to create evenly spaced buttons for a professional look.
When it comes to securing your headboard to the wall, French cleats or picture hooks are your best options. These ensure stability and make installation a breeze. Plus, you can customize the height to fit perfectly behind your bed, creating a seamless look that ties the room together.
Craft a Cozy Corner Headboard for an Inviting Daybed Look
Ready to create a snug retreat in your guest room or daybed area? A corner headboard is a perfect way to add warmth and style, making your space feel like a cozy escape!
Measuring and Cutting Plywood Precisely
Start by measuring your wall and bed size to determine the perfect fit for your headboard. Cut your plywood panels to match your design, ensuring smooth edges for a polished look.
Wrapping Techniques for a Neat Finish
Wrap your panels with batting and fabric, securing them tightly with a staple gun. This method creates a soft, inviting texture that enhances the comfort of your daybed.
For alignment, use a level and mark the wall evenly. This ensures your headboard sits straight, adding a professional touch to your DIY project. With these simple steps, you can achieve a cozy, custom-made headboard that transforms your space into a relaxing oasis!
Explore Innovative DIY Headboard Ideas and Variations
Looking for a way to make your bed truly one-of-a-kind? Let’s dive into some creative and budget-friendly ideas to reinvent your space! Whether you’re upcycling old materials or experimenting with new techniques, there’s no limit to what you can create.
Upcycling and Budget-Friendly Approaches
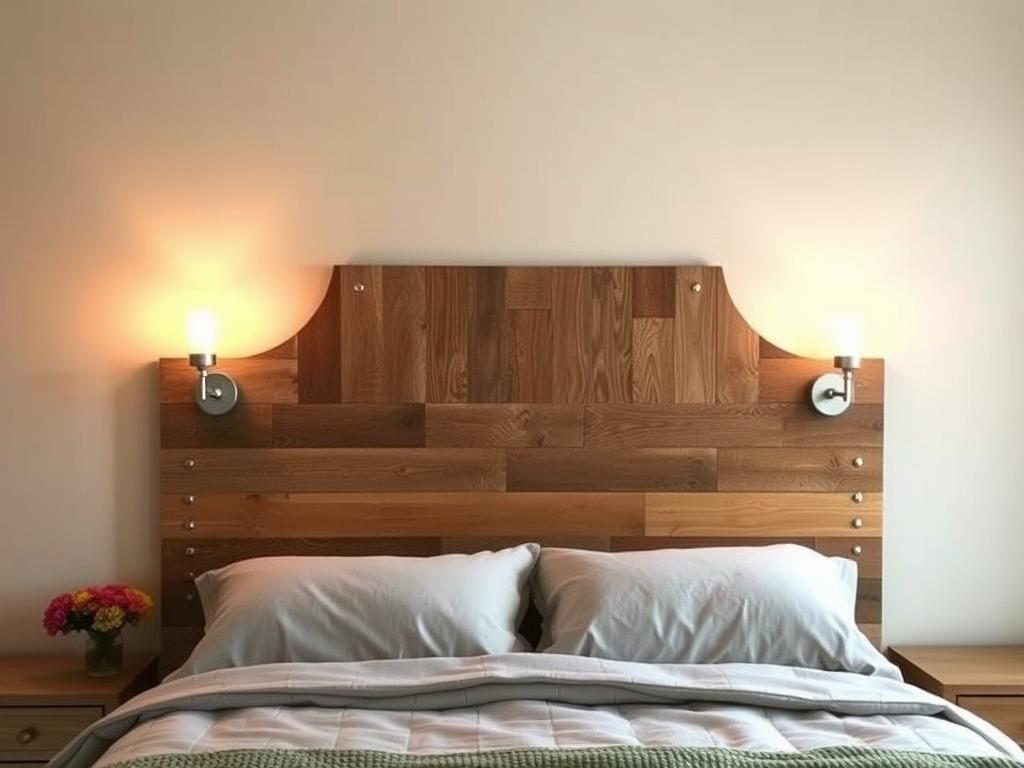
Transform your bedroom without spending a fortune! Consider upcycling an old door or using reclaimed wood to craft a unique headboard. Not only is this eco-friendly, but it also adds a touch of character to your room. For a more modern look, try repurposing a large piece of plywood or even an old pallet. These materials are not only affordable but also versatile, allowing you to create a design that’s all your own.
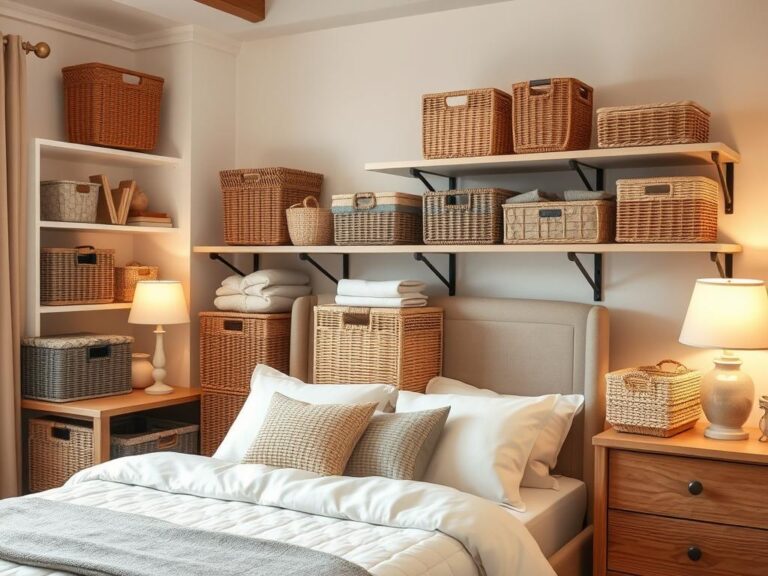
Creative Detailing and Custom Finishes
Add some personality to your headboard with creative details! Decorative staples, intricate carvings, or even integrated shelves can elevate your design. Don’t be afraid to mix and match colors and textures—like pairing a bold fabric with a natural wood frame. These small touches can turn a simple piece into a stunning focal point. Feeling adventurous? Try adding some tufting or embroidery for a luxurious finish.
Remember, your headboard is more than just a piece of furniture—it’s a statement. With a little creativity, you can create a look that’s both functional and beautiful. So go ahead, get inspired, and make your bed the centerpiece of your home!
Step-by-Step Process for Building a Wooden Headboard
Are you excited to create a sturdy wooden headboard that will be the centerpiece of your bedroom? Let’s break it down into simple, manageable steps!
Cutting and Sanding the Wood
Start by cutting your wood pieces according to your design. For a queen-sized headboard, you’ll need two 1x4x8 boards and one 1x12x6 board. Sand all edges up to 220 grit for a smooth finish.
Remember to wear safety goggles and a dust mask while sanding. This ensures a polished look and prevents any splinters.
Assembly and Finishing Techniques
Assemble the frame using 2” brad nails. Attach the plywood panel to the frame, ensuring it’s secure. Add trim molding for a decorative touch.
For the finish, apply your preferred stain or paint. Let it dry completely, then seal with polyurethane for durability. This protects your headboard and makes cleaning easier.
| Material | Quantity | Purpose |
|---|---|---|
| 1x4x8 Boards | 2 | Frame |
| 1x12x6 Board | 1 | Support |
| 2” Brad Nails | 12 | Assembly |
Mounting your headboard securely is crucial. Use French cleats for a stable and stylish installation. Watch the video for a full demonstration!
Integrate French Cleats for Secure and Stylish Mounting
Now that your DIY headboard is ready, it’s time to ensure it’s securely and stylishly mounted! French cleats offer the perfect combination of safety and a sleek look. This mounting system is designed to distribute weight evenly, making it far more stable than traditional hardware.
Installing French Cleats Effectively
Start by attaching one part of the cleat to the back of your headboard and the other to the wall. Use a laser level to ensure everything is perfectly aligned. Screw the wall cleat directly into studs for maximum stability. For the headboard cleat, position it about 1/3 down from the top for optimal weight distribution.
Ensuring Safety and Stability
French cleats are a game-changer for large DIY projects. They prevent the headboard from tipping and keep it firmly in place, even in busy households. Plus, they’re hidden from view, maintaining your headboard’s clean aesthetic. Troubleshooting tips: if the cleat feels loose, check the studs, and ensure both pieces are aligned properly. A well-mounted headboard not only enhances safety but also elevates the room’s style!
Design with Color and Finish to Elevate Your Headboard’s Look
Now that your DIY headboard is taking shape, it’s time to think about the fun part—adding color and finish! This is where you get to infuse your personality and tie the room together. Whether you’re aiming for a bold statement or a subtle backdrop, the right color and finish can make your headboard truly unforgettable.
Staining vs. Painting: Making the Right Choice
When it comes to finishing your headboard, the debate often comes down to staining or painting. Staining is perfect for showcasing the natural beauty of the wood, especially if you’re using a rich material like oak or pine. It enhances the grain and adds warmth to your space. On the other hand, painting offers endless color possibilities, allowing you to match your headboard to your bedroom’s existing decor. For a modern look, consider a crisp white or soft gray. If you’re feeling adventurous, why not try a bold, contrasting color to make your headboard the room’s focal point?
Distressing Techniques for a Weathered Style
If you’re going for a vintage or rustic vibe, distressing is a fantastic way to add character. Lightly sanding the edges or surfaces creates a worn, timeless look. You can also layer paint and stain for added depth. Distressing works beautifully with both painted and stained finishes, giving your headboard a unique, one-of-a-kind charm. Plus, it’s a great way to hide any minor imperfections, making your DIY project look professional and polished.
Remember, your headboard is more than just furniture—it’s a statement. With the right color and finish, you can create a look that’s both functional and beautiful. So go ahead, get creative, and make your bed the centerpiece of your home!